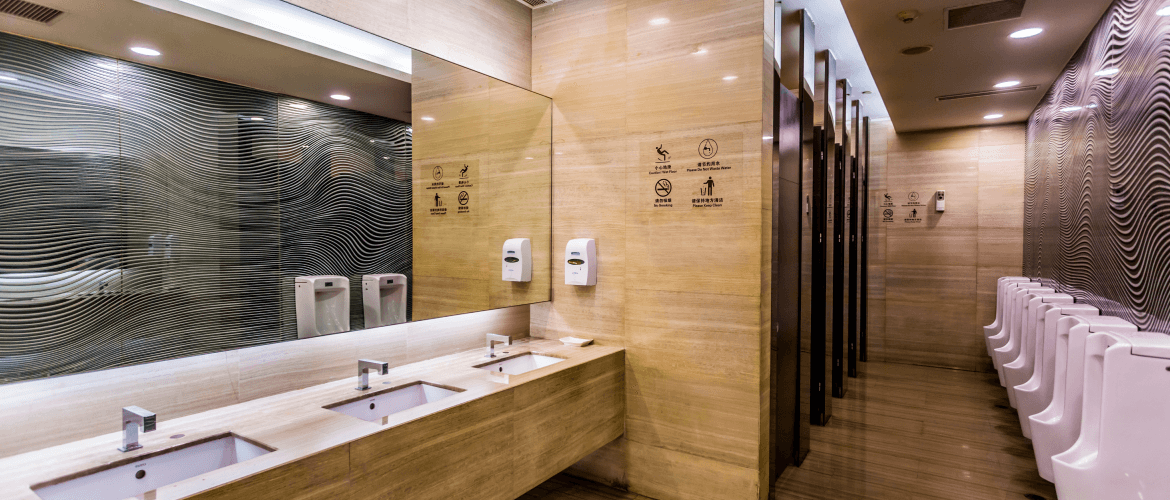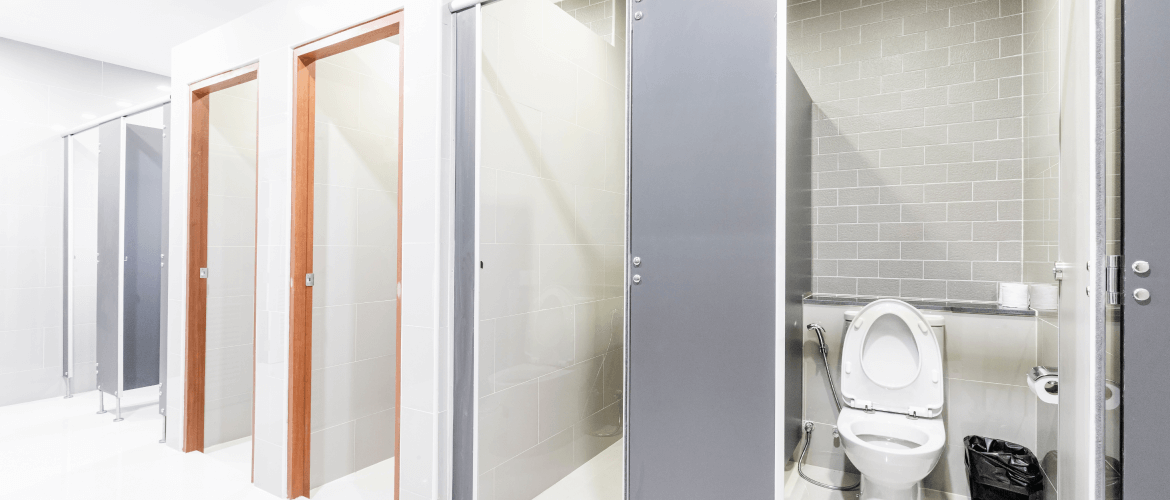


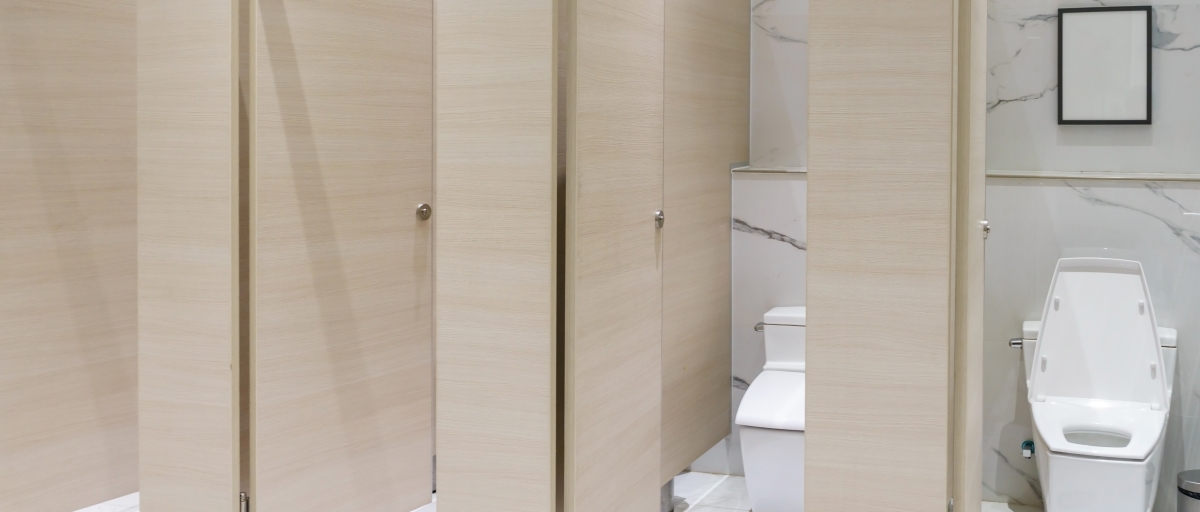
Toilet partitions, otherwise known as bathroom partitions, are an essential part of comfort and privacy in the restroom. Whether you’re a large company looking interested in several new partitions, or a small business owner wanting a small installation, partitions are a crucial part of customer satisfaction.
Either way, new partitions can be a great way to rejuvenate your bathrooms, especially when customers have been unkind to your last installation. New or rejuvenated, proper installation is essential for long-term functionality.
Luckily, Toilet Partitions has extensive experience installing these essential bathroom components. We’ll tell you all about proper toilet partition installation, and provide tips that will help you with the process.
Why Toilet Partitions
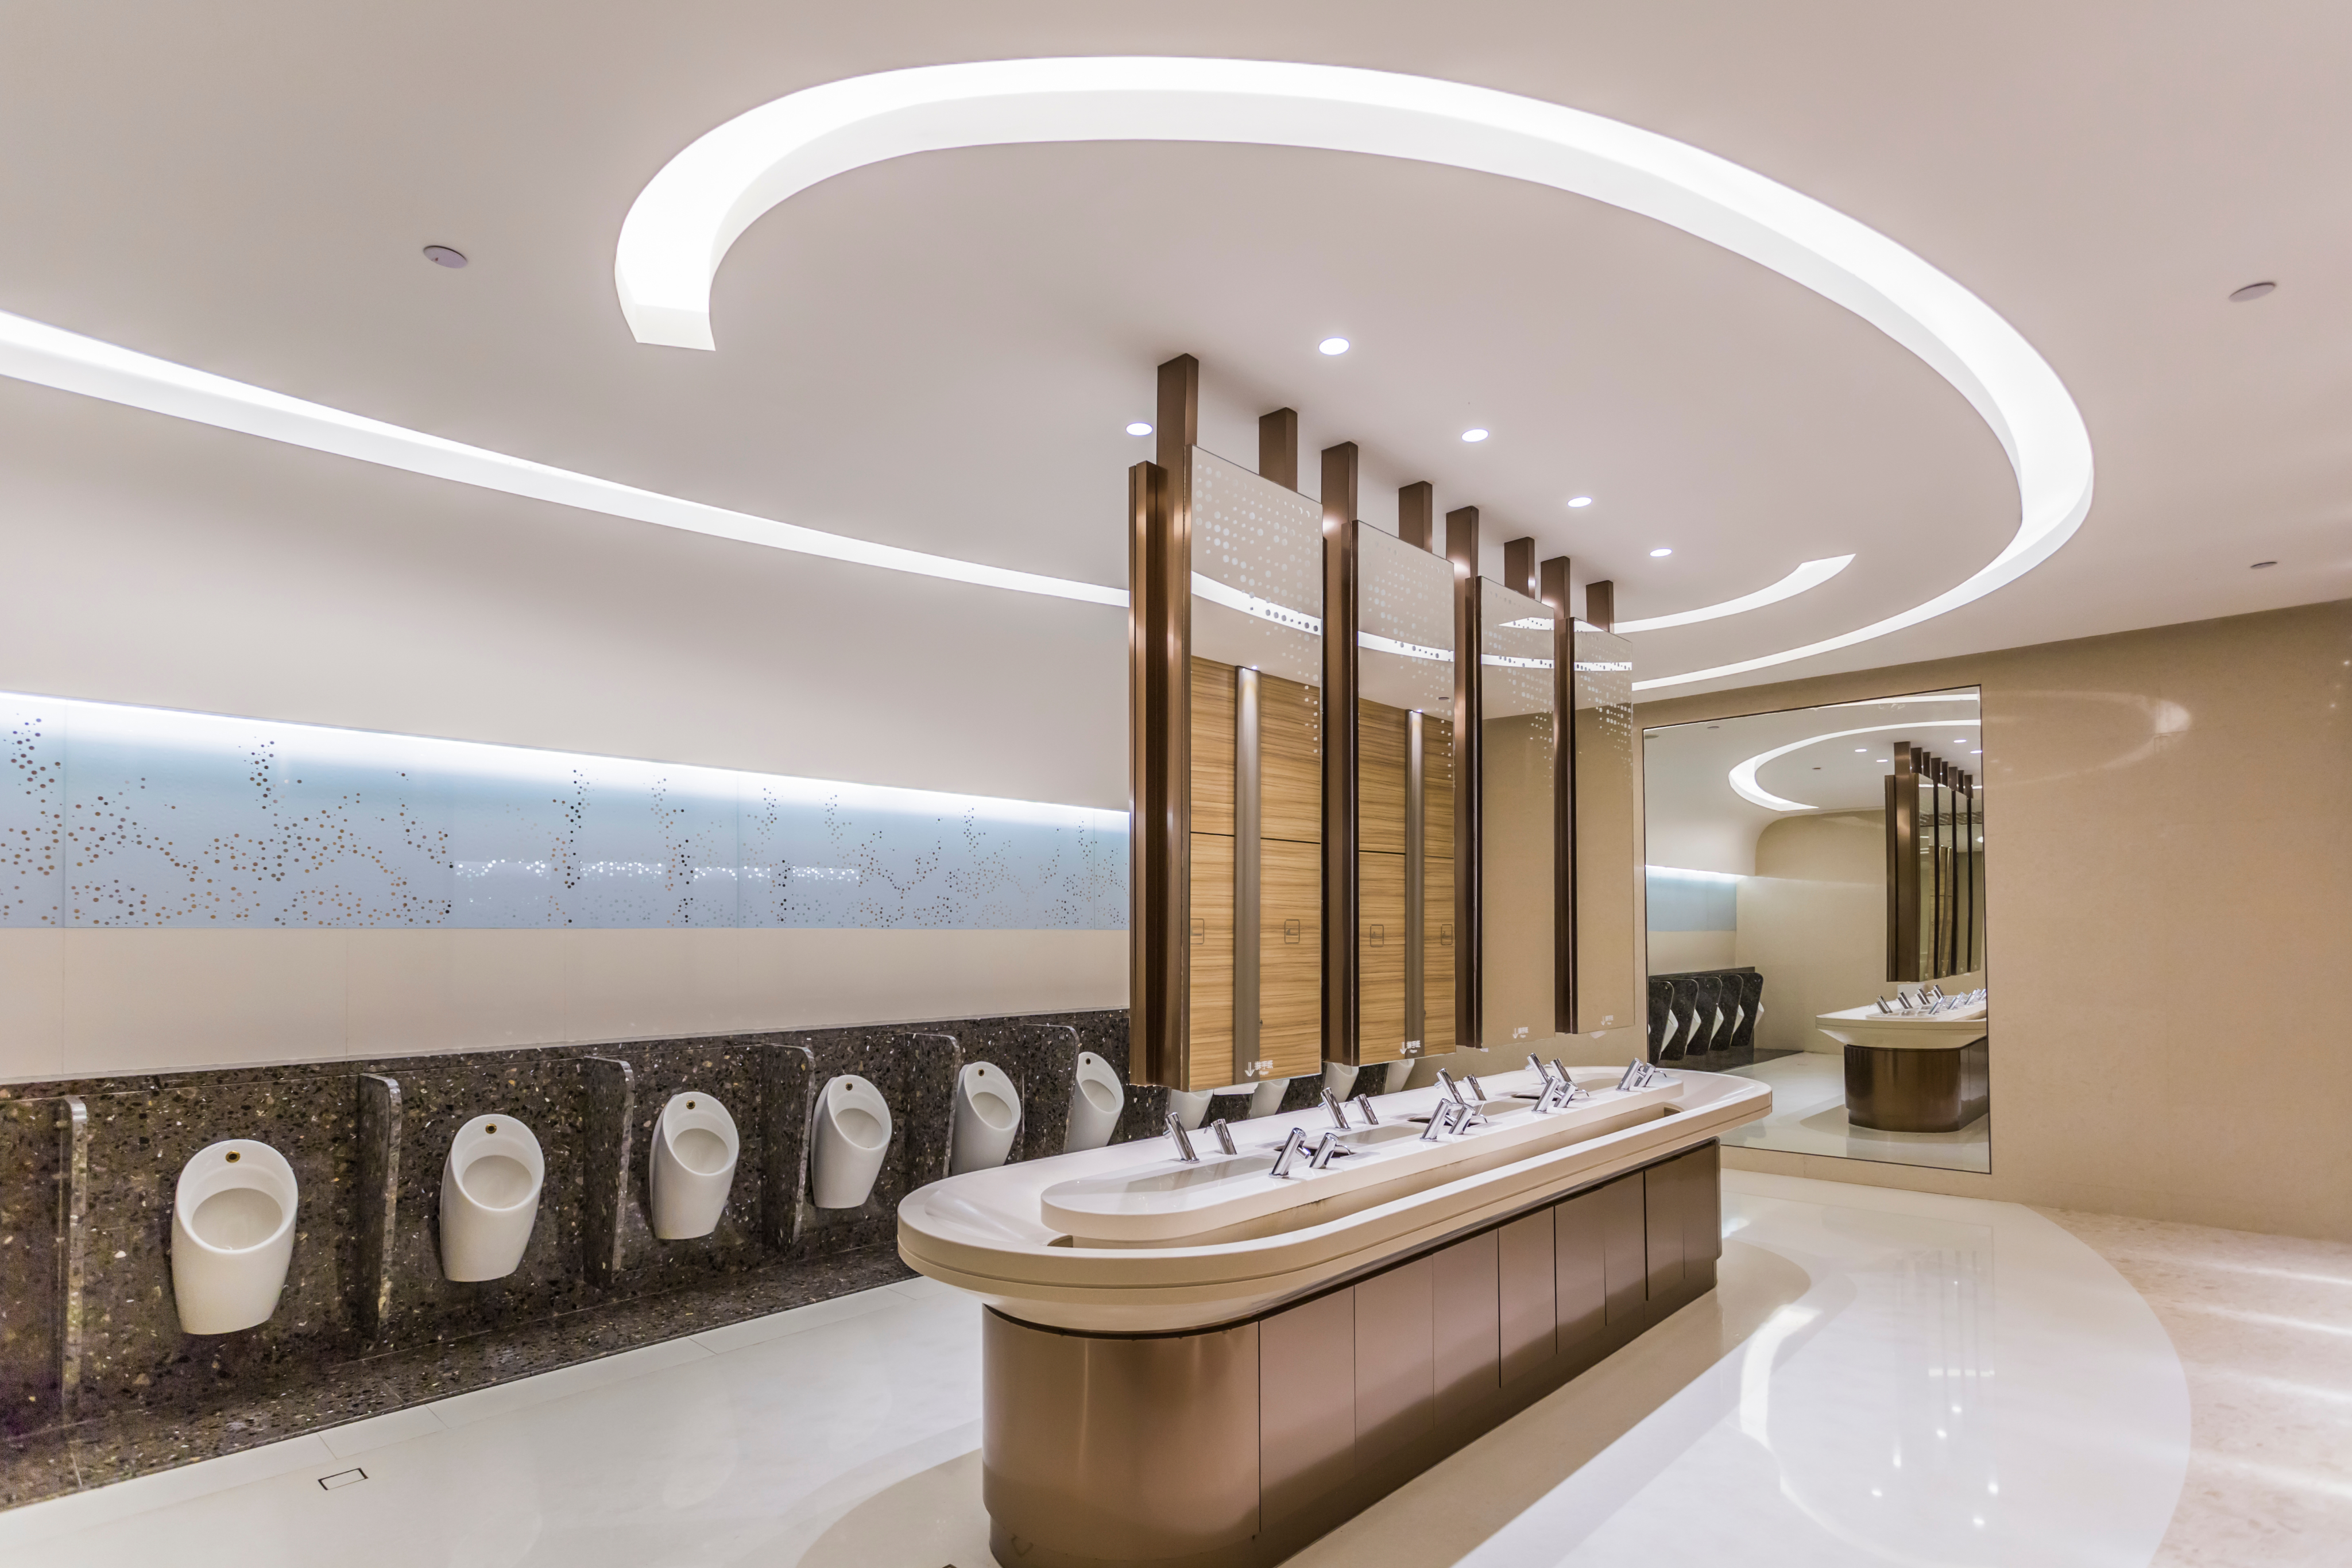
As your business grows, you’ll find that it’s essential to provide more bathroom space for guests, while also ensuring privacy and comfort. Complete installation of new toilet partitions allows for enhanced efficiency and comfort in the bathroom, which will also reflect positively on your brand.
Other benefits include:
- Improved Hygiene.
- Odor Minimization.
- Noise reduction.
- Space Utilization.
- Building code and regulation compliance.
- Better durability.
- Accessibility for the disabled.
Of course, finding the right materials for your panels and doors is also crucial. We recommend analyzing your needs and costs before you invest in the perfect partitions.
Getting Started With Your Installation
Before starting the bathroom partition installation, there are a few preliminary steps you should take to ensure an effective installation. These steps include:
Other benefits include:
- Use a tape measure to determine locations for your partition.
- Create a plan layout for your partitions.
- Contact a reliable toilet partition supplier.
- Work with the supplier to design drawings and receive instructions.
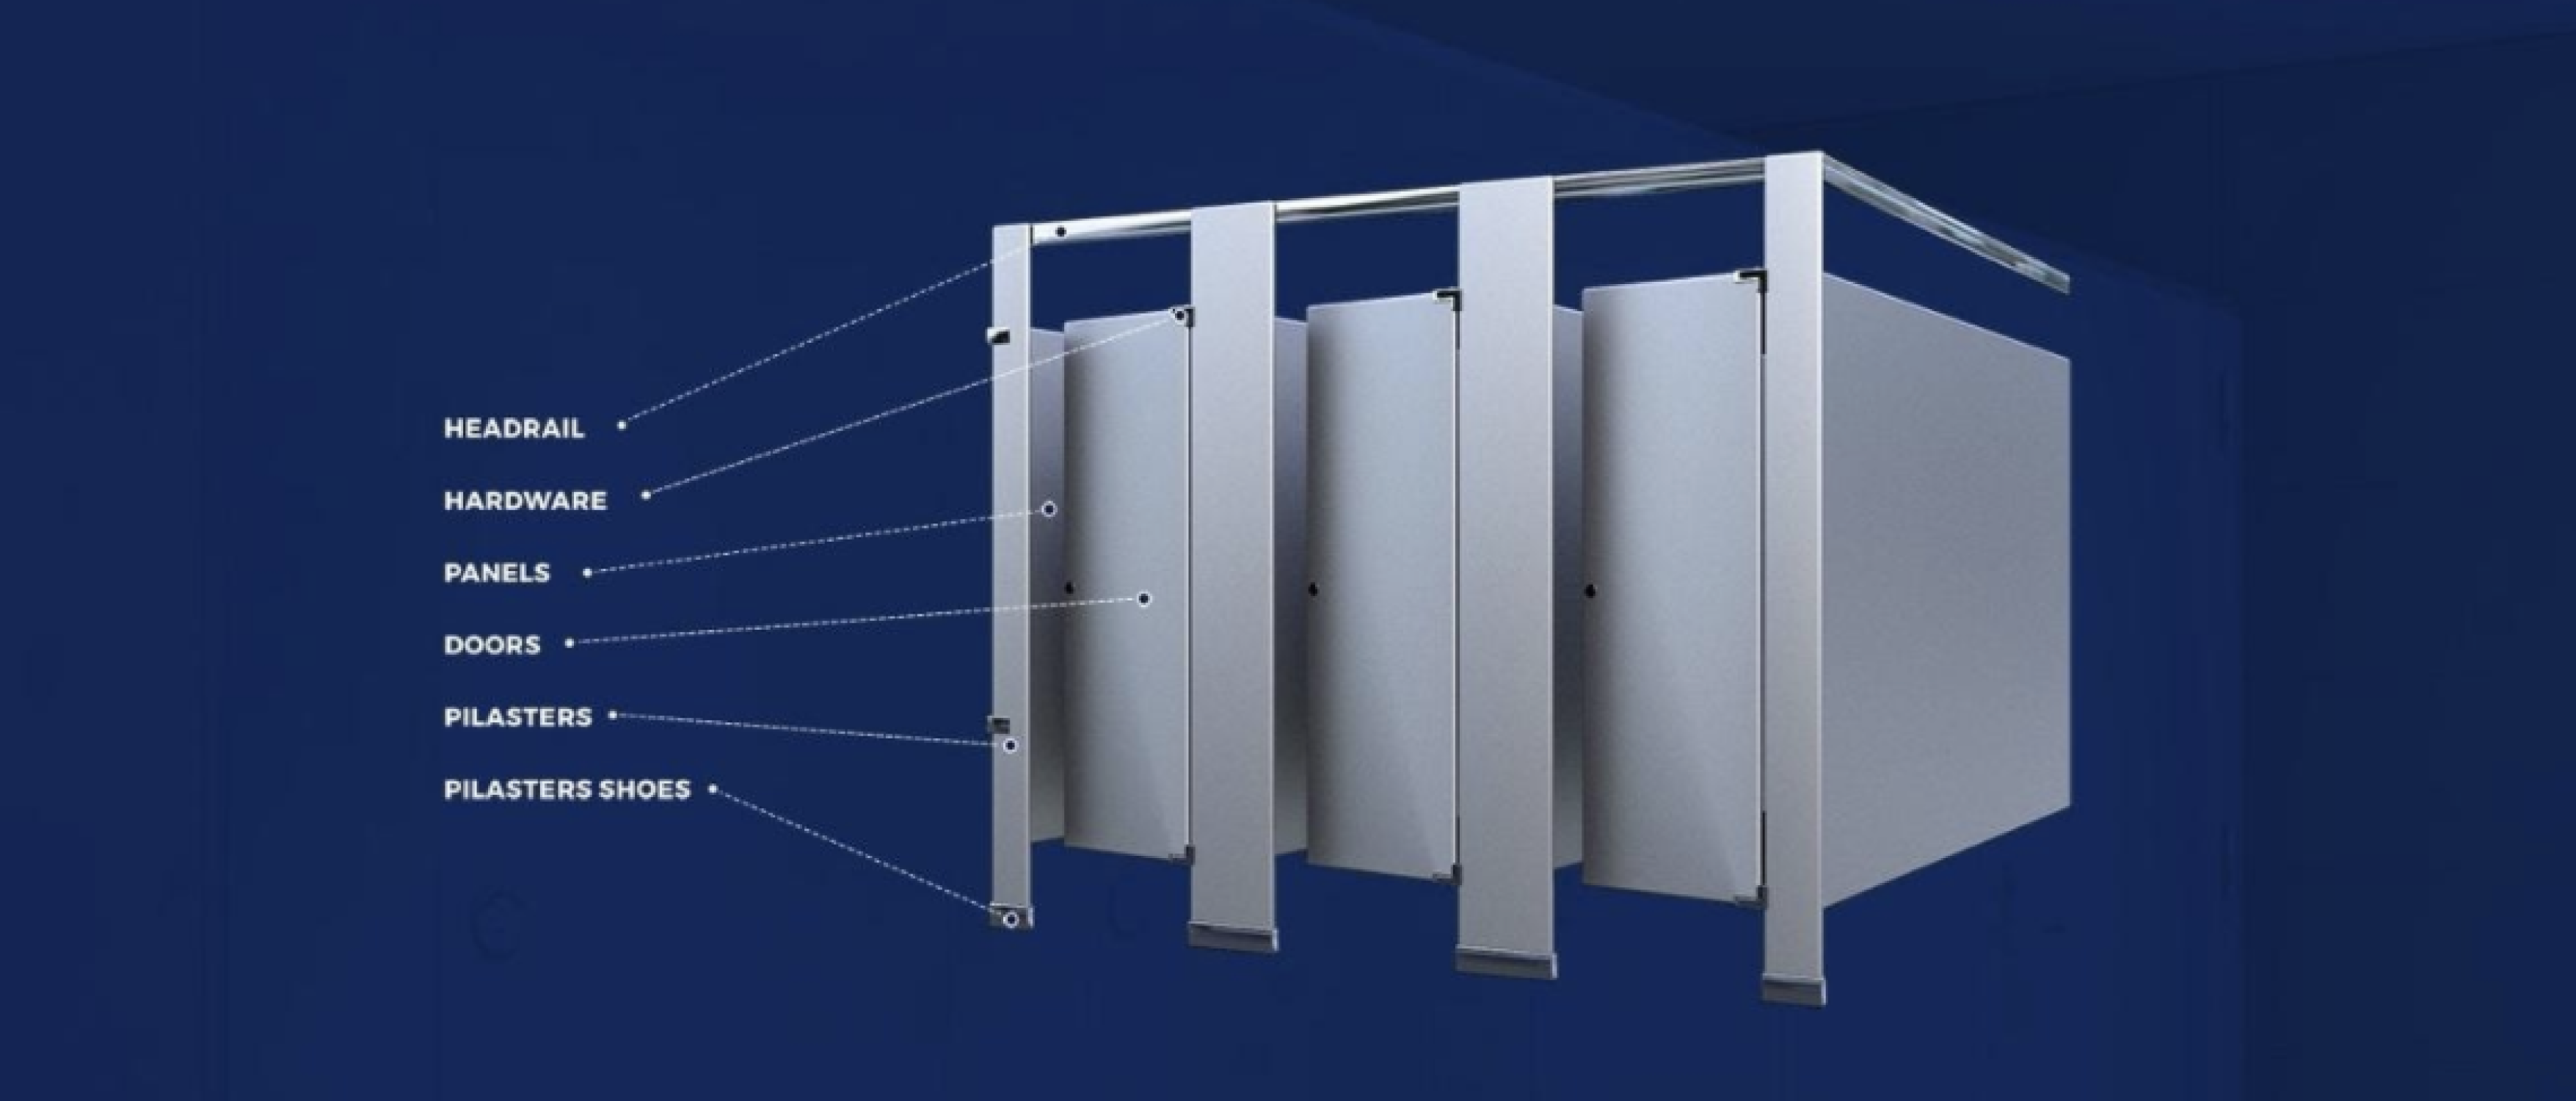
- Gather all necessary hardware, anchors, and components.
After you’ve completed these steps, you’ll be ready to tackle the installation process. Remember that these steps are just as crucial to getting the job done right as the physical installation process.
So, if you’re ready to get started, here are the installation instructions for how to install a toilet partition:
1. Establishing Floor Brackets
Establishing floor brackets is the first step in any partition installation. Floor brackets are essential building blocks for your partition, as they act as anchor points for each wall pilaster. Without the support of floor brackets, your partitions will be unstable.
Examine your partition dimensions and read instructions carefully when establishing the ideal floor bracket locations.
First, determine the front centerline by taking the overall compartment dimension and deducting 16mm (5/8”). When replacing partitions, the previously installed hardware should be pretty close to the centerline locations, allowing you to easily mark drill holes. However, do make sure the previous drill holes aren’t stripped prior to installation.
We always recommend measuring twice, to avoid mistakes along the way!
Once the ideal locations are determined, it’s time to secure the floor brackets. This may require drilling, so be aware of your flooring type ahead of time. Some floors may be more difficult to drill holes into than others, so research into your floor’s specific requirements is key.
We recommend leaving the floor brackets “almost tight” until you are finished installing your partitions to allow for easier adjustments going forward.
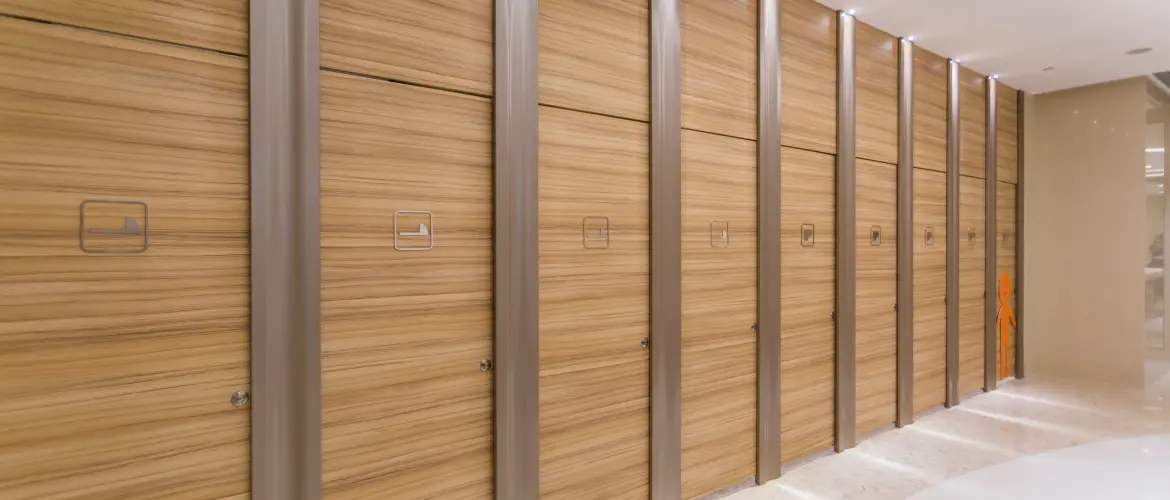
2. Erecting The Panels and Pilasters
Once the floor brackets are installed, you are ready to raise the wall panels and pilasters. Panels will come first, followed by pilasters. Your floor brackets will help you determine the correct locations, but also be sure to follow your instructions and layout drawings
To erect your partition panels, precision is key. Using your centerline locations as a guide, fasten two 2-ear panel brackets to the wall. Bracket centers should be approximately 18 and 64 inches from the floor.
Rest panels on a 12-inch block and position it in the brackets. You’ll need to drill one initial hole through the top bracket and fasten it to the wall before drilling the remaining panel holes. Additionally, to prevent the look of an uneven floor, be sure to place the panel on the stabilizer block until the pilaster has been installed. This will prevent shifting.
After the panels are in place, fasten two of your single-ear pilaster brackets (F brackets) to the wall. Your F brackets should also be centered 18 and 64 inches from the floor, matching the panels.
Once fastened, you’ll need to slide shoes into place. When installing shoes onto the pilaster, you’ll want to make sure they have a proper fit. To achieve this, ensure both the front and back edges of the shoe run parallel to each other. If lacking alignment, exert hand pressure on the back seam of the shoe until the front and back edges are parallel.
Next, position the pilaster against the wall brackets and over the floor brackets while inserting floor bracket hardware and a leveling device for guaranteed precision. Plumb the pilaster, and tighten it in preparation for the next step.
Position the subsequent pilaster onto the floor brackets and mark the center line of the panel on the back. Again, you’ll need to mark the bracket centers at intervals of 18 and 64 inches from the floor. Utilize the bracket centers as guides to mark the drill holes.
Finally, Remove the pilaster from the floor brackets and affix the U brackets securely in their designated positions. Adjust leveling devices once again, and position the pilaster on the floor brackets with the “U” brackets engaging the panel, without tightening it.
Proceed to drill one hole through the top bracket and fasten it securely.
3. Preparing and Installing The Doors
When you’re confident in your pilaster’s position, you can begin the process of prepping and installing the door. This will involve more work on your pilaster, meaning it’s essential that you’ve prepared your pilasters properly thus far.
Initially, you’ll need to fasten upper and lower hinges to the wall pilaster. Both the upper and lower hinges allow the door to swing properly, as well as ensure proper leveling and positioning for your doors.
Next, you’ll want to prepare your door for hanging. Insert the female cam into the bottom-door hinge casting, and then attach the inner and outer door knobs. After, you’ll also need to install the latch, coat hangers, and bumper.
To attach the door, lower it onto the male cam of the lower hinge, and then install the threaded upper hinge pin. To set your door to the required angle, follow these steps:
- Loosen the nut of the male cam assembly
- Set the door at the required angle
- Tighten the nut to secure
- Fasten the stop & keeper onto the pilaster
4. Repeat and Wrap Up
By this step, you only have a few more hardware components to install and fastenings to address. Here are the remaining installation instructions:
After ensuring all the pilasters are fastened to the floor brackets and adding any remaining fasteners to your first toilet partition, it’s time to tackle the rest of them. Repeat the previous steps to finish installing bathroom partitions.
Even if the task seems repetitive, take your time installing each and every partition as you did the first one. Proper measuring, leveling, and placement will ensure the best functionality, durability, and aesthetics.
When you’re finished, fasten the headrail brackets to the wall, approximately 81 and a half inches above the floor.
Headrail fastening and placement is one of the last steps in the installation process. Place the headrail into the tops of the pilasters and slide them into your headrail brackets. Splice the sections of the headrail on top of the pilaster for an exact fit.
Next, fasten it to the headrail wall brackets and install headrail end cap if required. Headrail brackets will ensure stability and attachment to the pilaster.
After your headrail is fastened to the pilaster, the only thing you have left to do is ensure that all hardware is installed. This is when you will want to completely secure the partitions. We suggest adjusting leveling devices to level all compartment components before tightening.
For detailed toilet partition installation instructions, see Toilet Partition’s Resource page.

Shop Toilet Partitions Today
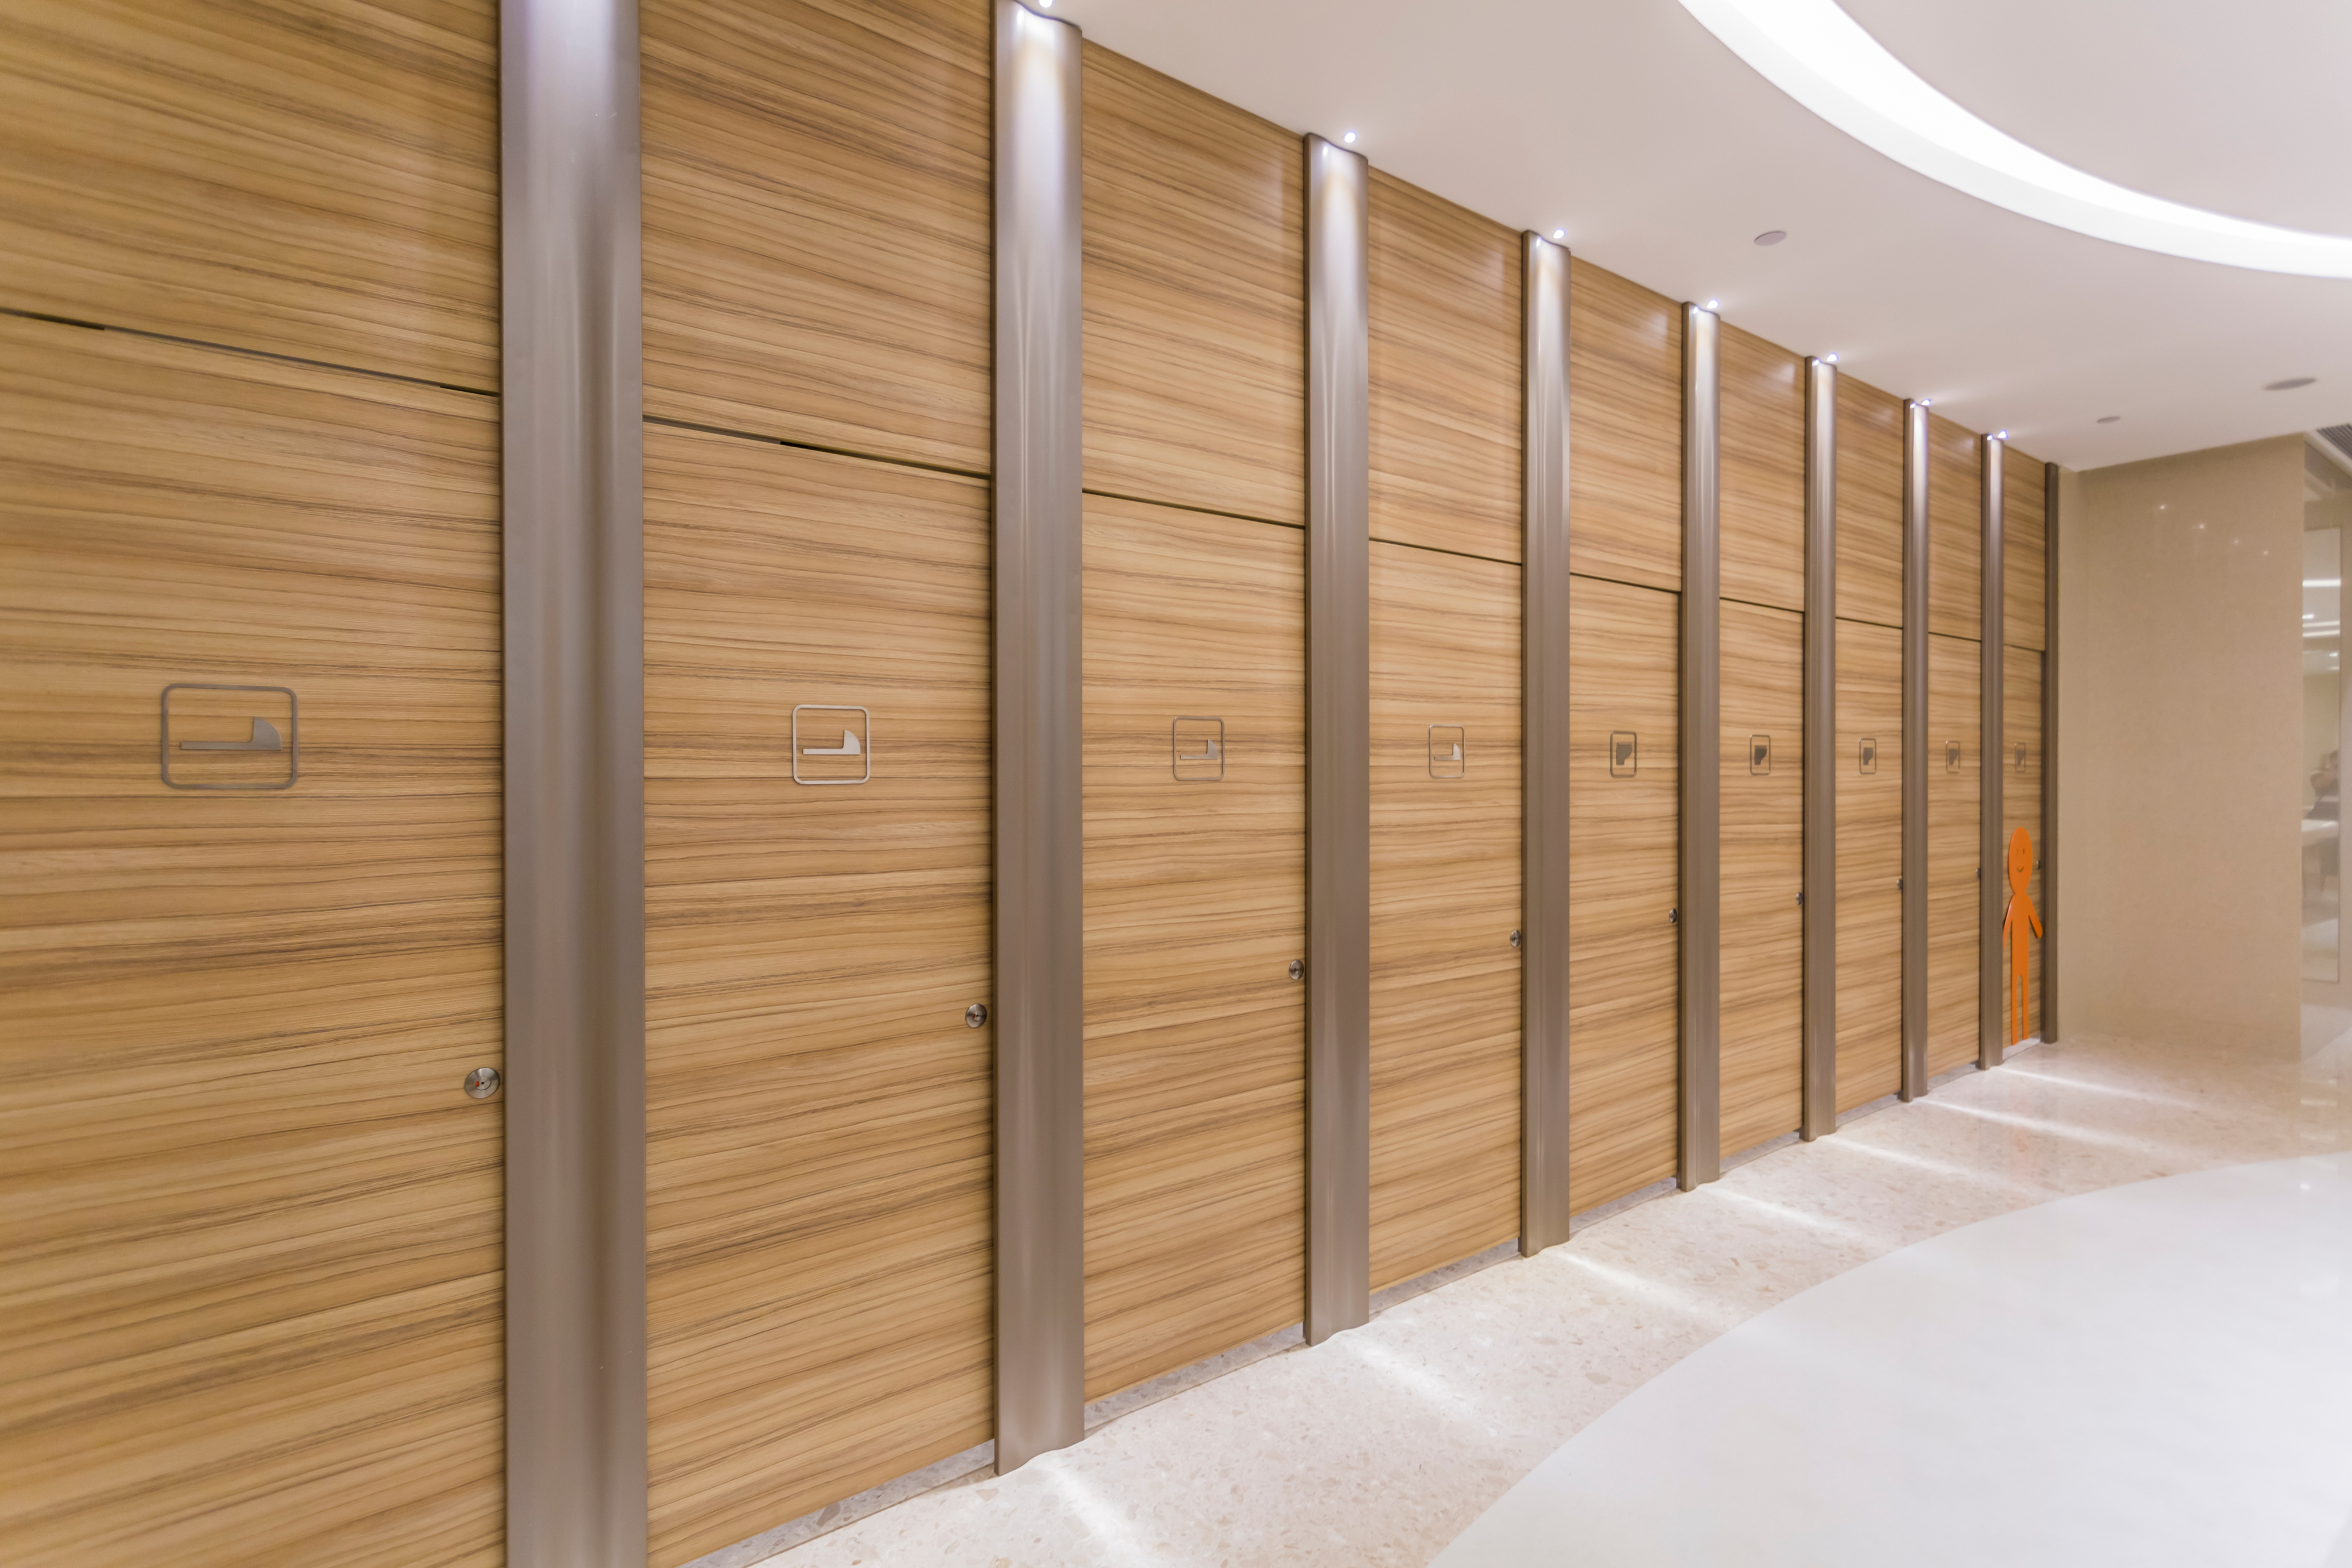
If you’re ready to install a modern, comfortable, highly functional toilet partition, look no further than Toilet Partitions. Our bathroom partitions have stellar reviews, with options that can please any business owner.
From powder coat to stainless steel, we have a wide variety of partitions to choose from. Plus, with an easy quoting process and free shipping, you’ll save time when you choose to install our partitions.
So, if you’re interested in updating your old partitions, or installing new ones, you can get started on our website, or contact us at 833-759-0176. Our entire team at ToiletPartitions.com is here to help you and ensure quality customer service, whether you have one bathroom or 500.