


One use you’ve probably never heard of the famous saying “divide and conquer” is in the context of installing toilet partitions. However, trust us when we say that it is very relevant. The average human spends about 25 minutes every day inside a toilet and many people spend a large portion of those minutes in public places.
Toilet partitions are a necessary installation to optimize the use of public bathrooms. Without them, you cannot provide privacy to multiple users or increase the efficiency of a single space. By dividing the room with bathroom partitions in a few steps, you can conquer it easily!
Experienced carpenters and handymen can install toilet partitions with ease in no time. But if you’ve decided to try your hand at it, you must make sure you’re prepared. You will get an idea of the process, equipment, and materials you will need in this article so that you can be as successful as possible.
Types of Toilet Partition Configurations
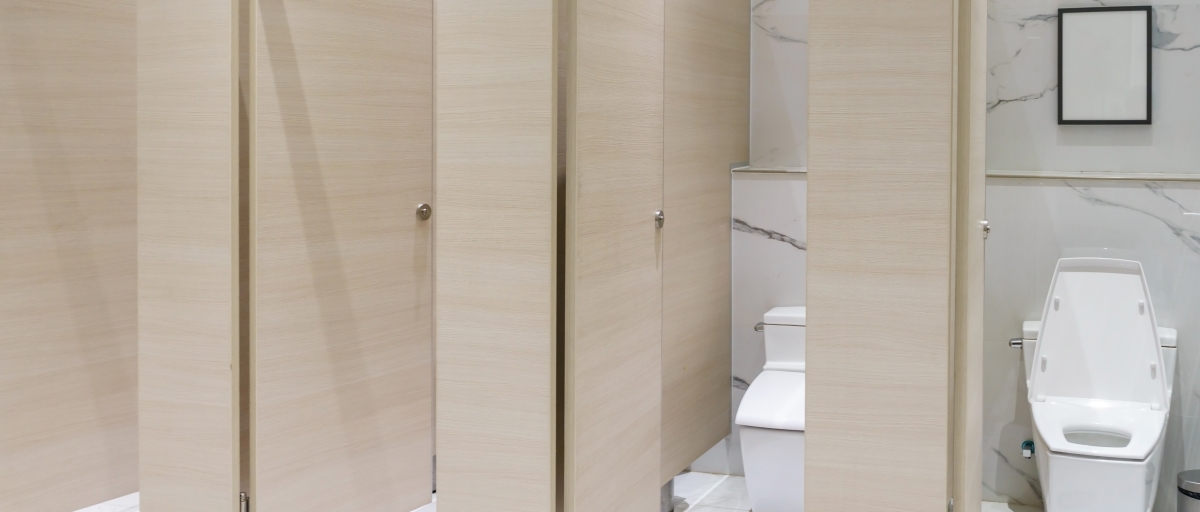
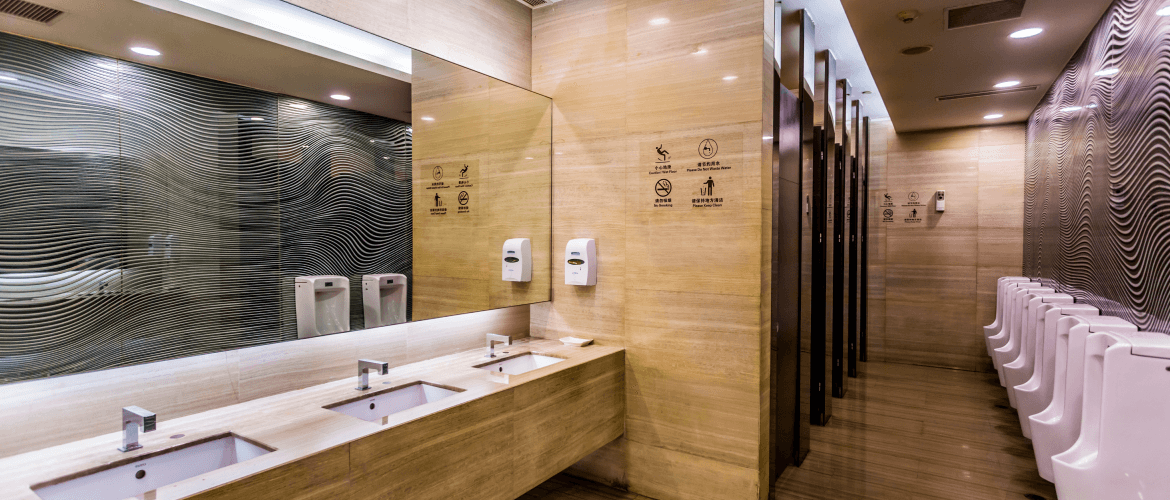
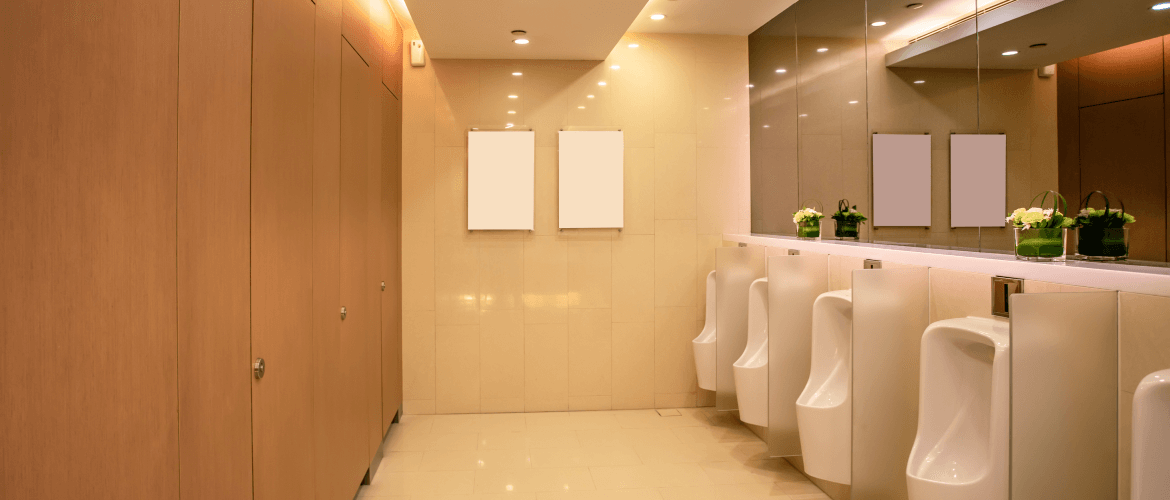
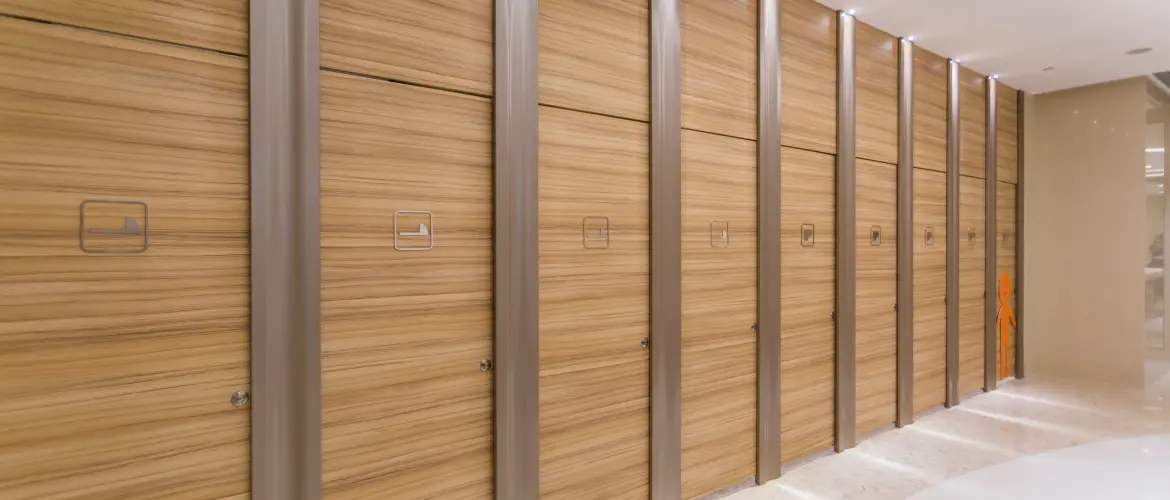
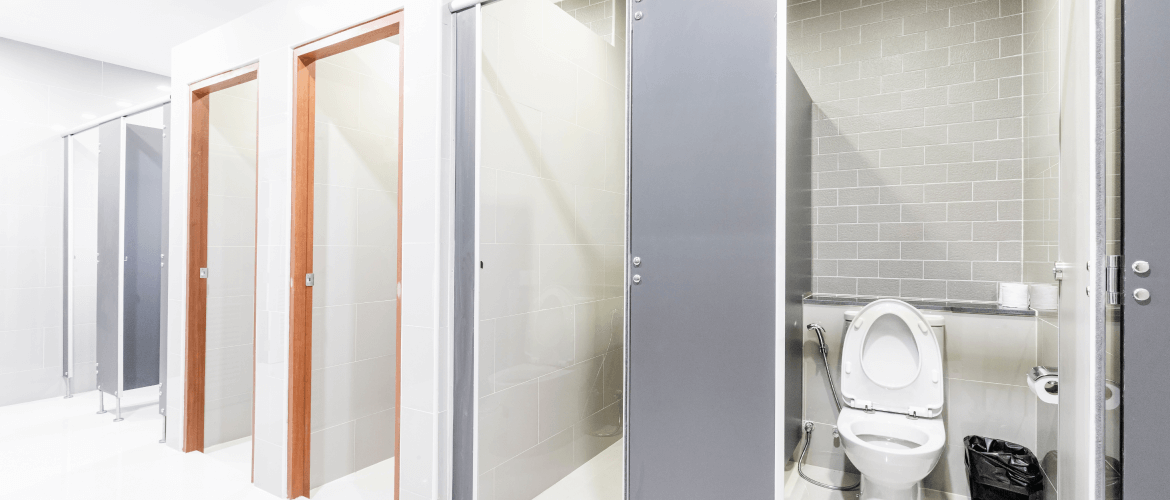
If you’ve been in enough public bathrooms in your life, you will know that there is no shortage of configurations for toilet partitions and bathroom stalls. Depending on where the bathroom is, its use, and the expected amount of traffic, there can be any number of configurations. The materials used will be different to accommodate the use. Stainless steel, which is much more expensive, might be used in a private company’s bathroom as opposed to a powdered coat, which provides more value for money and is more likely to be used in a school locker room.
The style of bathroom stalls may also differ. For example, there will always be a handicap stall or an ADA stall in a public place in the United States which might be significantly different from other stalls. An in-corner stall to be used for hardware reasons or an alcove stall that stretches from one wall to the opposite wall might also be present.
Apart from that, the number of stalls will also differ which will again change the installation considerations a little. A school locker room or the bathroom in a football stadium will have more bathroom stalls than a private company’s bathroom.
Also, the mounting style configuration can either be headrail-braced, floor-mounted, ceiling hung, or floor to ceiling. And lastly, options like no sightline, continuous channels, or maximum door and panel height are also available while constructing bathroom stalls.
Required Parts and Tools
Most of the things you will need for a proper toilet partition installation will come with the package, along with the instructional manual telling you how to use them. However, you might be seeing those items for the first time, or the different parts needed to construct the bathroom stall might be confusing for a beginner. No need to worry, because in the following paragraph, we will be giving you an overview of the material. We’ll also mention what other tools you will need to complete the installation process.
Panels are the flat surfaces that are found in the middle of stalls. They create compartments and provide privacy. Doors create the gateway that leads into the stalls. Pilasters are anchored into the floor and provide support to the panels and doors. Headrails run from wall to wall and join with the pilasters to provide stability to the structure. Brackets such as F brackets, U brackets, Y brackets, alcove brackets, and L-brackets are used to mount parts onto different surfaces.
Other tools required are:
- 4 ft. level
- Chalk line
- Tape Measure
- Hammer
- Hammer drill
- 5/16” (8mm) masonry bit
- Miscellaneous drill bits, including 4mm (5/32” & 8mm (5/16”)
- 6mm (1/4”) masonry bit
- 11mm (7/16”) & 13mm (1/2”) wrench
- Miscellaneous screwdriver bits
- Adjustable wrench
- Hacksaw
- 318mm (12”) shim block to rest panels on for easier installation
- 6-lobe security driver bits
- “C” Clamp
Installation Process
The process differs from the type of toilet partitions you want to use to create the bathroom stall and the layout of the room. Things like wall conditions can also make a slight difference. You can find detailed installation instructions online or in the instruction manual sent with your bathroom partitions. Generally, the following procedure is followed with minor adjustments made depending on the aforementioned conditions.
If you are installing the partitions for the bathroom stall yourself, make sure you are following the instructions that fit most closely with your specific case. If you are having them installed by a professional such as one from our team of dedicated experts at Toilet Partitions, you do not have to worry about this. Still, it is a good idea to familiarize yourself with the process for ease of mind and to answer any questions you might have.
Never forget, safety is paramount. Always have safety equipment such as gloves, shoes, hard hats, etc., and handle all tools with care. It is recommended that you do not attach the panels and the doors alone and have someone to help you be present. This will serve as a safeguard against any misplaced installation. Also, it will also help you pick up and move materials with more stability.
Steps for Toilet Partition Installation
Step 1: Plan and measure the compartment of the bathroom stall. Then mark out the layout from your guide using chalk or pencils.
Step 2: Mark the front centerline (which is where the front of the stalls will lie). Don’t forget to consider the width of the door and the stiles. Subtract half of the thickness of the pilasters. This will give you, your “center control line”
Step 3: Drill holes for the brackets after marking the correct location on the floor.
Step 4: Mark and then drill holes for the panel and pilaster brackets.
Step 5: Use supports (Typically 12” off the floor) to help you install the panels. Use the level to make sure the panels are straight and completely perpendicular to the wall. Drill and fasten one bracket to the top of the panel.
Step 6: Position the pilaster in the wall brackets and over the ground brackets.
Step 7: Make a mark on the centerline on the back of the pilaster, with marks at 18 inches and 64 inches (as above) for bracket centers. Then fasten the “U” brackets to the pilaster.
Step 8: Using the brackets as templates, mark drill holes. Remove the pilaster from floor brackets and then join the “U” brackets.
Step 9: Without tightening, place pilaster on floor brackets with “U” brackets engaging panel. Fasten, after drilling one hole at the top.
Step 10: Slide stainless steel shoe onto pilaster. Adjusting it for bowing or sliding before by applying pressure until the front and back edges are parallel to each other.
Step 11: Install female cam and door hardware to start installing the door.
Step 12: Install the cam (male one) in the lower hinge. Now slowly lower the door into it. Fix the threaded higher hinge pin. Loosen and tighten the knob of the assembly of the cam to make sure the door is set at the appropriate angle. Join stop & the keeper on the pilaster.
Step 13: Make it certain that all pilasters are properly linked to the floor. Now, add all fasteners.
Step 14: Redo the steps for all other compartments.
Step 15: Join the headrail brackets on to the wall and then place the headrail on top on the pilaster and into the headrail brackets. Fasten the headrail and the pilasters followed by headrail brackets of the wall.
You can see an instructional video to help you orient yourself before the installation.
Pointers for Toilet Partition Installation
While every case of installation is individual, there are certain tips and tricks you can use to make your life easier. By avoiding commonly made mistakes, you will save yourself a lot of time, money, and effort down the road. You can be smart and expect the unexpected so that you’re never caught unaware. Here we’ve compiled a few of our hacks to make your bathroom stall installation process as smooth and efficient as well.
- Clear out the area. Just like you must respect the artist’s workspace, a handyman’s space must also be clear of unneeded clutter to perform the job efficiently. After all, nothing is worse than tripping over stuff that does not belong there.
- Check all your material as you are bringing it into the restrooms. Notify your supplier of anything that is missing or damaged right away. Make sure all your equipment is present before you start work.
- Take a pencil and a tape measure and start the layout where each component goes. Use a pencil in case you make mistakes. Check, double-check, and then triple-check all measurements and installations. Remember, it is always better to do it slowly and right than quick and wrong.
- Perform maintenance on the installation regularly so that it does not cause problems later. Keep the toilet partitions clean and maintain their condition to reap optimum results.
Conclusion
Now that you’ve decided to make your life easier, it’s important that you do it right. Bathroom partitions can make all the difference in the usability and aesthetic appeal of your bathroom. By following the installation instructions given here as well as in the manufacturer instruction manual, we are confident that you can execute an installation of bathroom stalls that anyone would be proud of.
If you ever feel overwhelmed or want to have expert advice, call us at (833) 759-0176. You can also email us at sales@toiletpartitions.com